- Home
- Eye Makeup
Eye Makeup Tips for Older Women: Brighter, More Defined Eyes

Eye makeup can start looking and behaving differently as we get older. Eyeliner may suddenly look harsher, mascara may smudge more easily, and concealer can settle into lines that were never a problem before.
I’ve run into all of that myself. What helped wasn’t giving up eye makeup—it was making a few small changes to the products, colors, and placement I use.
Below, I’ll show you the eye makeup tips that help my eyes look brighter, softer, and more defined now. You’ll also find links to my more detailed eyeliner, mascara, brow, dark-circle, and puffy-eye guides when you need extra help with one specific problem.
For a deeper look at eyeliner colors, formulas, and placement, start with my eyeliner makeup guide for older women.
1. Eyeliner tips that look softer on mature eyes
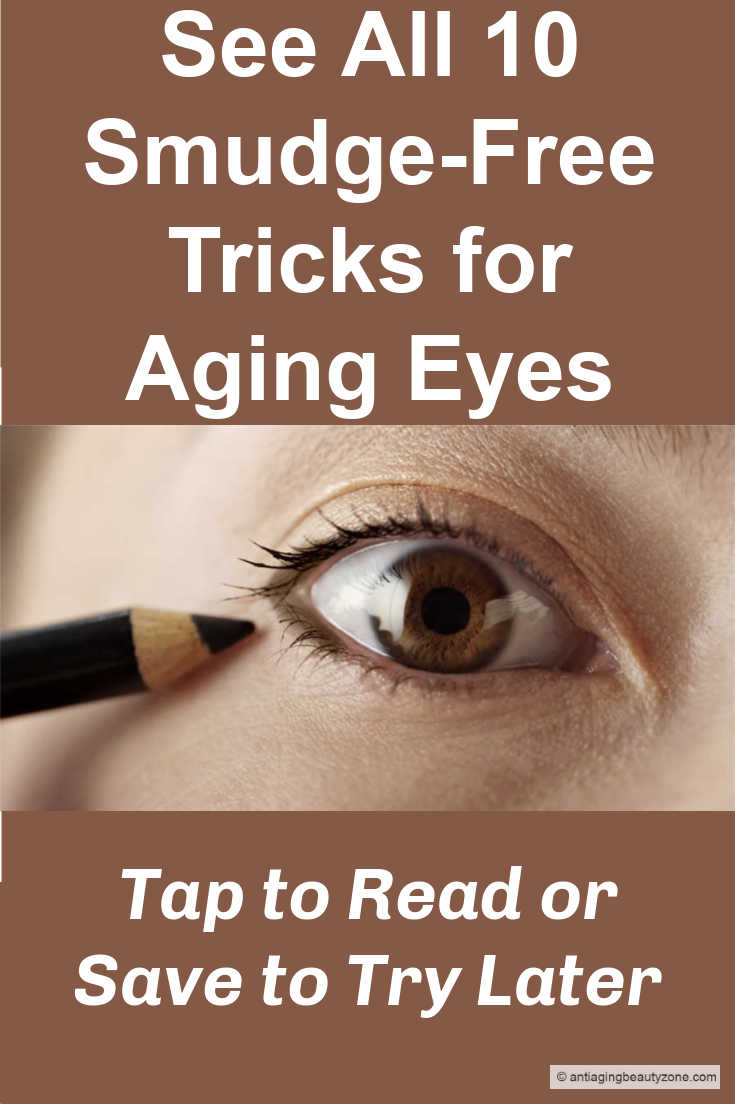
Eyeliner is still one of my favorite ways to define my eyes, but I can’t apply it exactly the way I did years ago.
As lids become softer, more hooded, or a little more textured, a thick or sharply drawn line can start looking heavier than expected. I usually get a more flattering result by keeping the liner thin, soft, and close to the lashes.
A few small changes can make eyeliner look softer and easier to wear:
Keep most of the definition toward the outer part of the eye. A thinner line close to the upper lashes can add shape without taking up too much lid space.
Go lighter on the lower lash line. I usually keep lower liner soft and limited to the outer third so it doesn’t make my eyes look smaller or draw more attention to puffiness.
Try a softer shade if black feels too strong. Dark brown, charcoal, plum, navy, and deep green can still define the eyes without looking as stark. See how to chose the best eyeliner colors for older women to help narrow down which shade may suit you best.
Pay attention to the formula. If your liner skips, tugs, smears, or transfers, the product may be part of the problem—not just your technique.
Need more help with eyeliner?
Choose the page that matches what you need help with next—color, formula, application, smudging, or product picks.
- Eyeliner Makeup for Older Women — colors, placement, and softer ways to define mature eyes.
- How to Choose Eyeliner for Mature Eyes — how to find the right formula for dry, textured, hooded, watery, or smudge-prone lids.
- How to Apply Eyeliner Over 40 — my step-by-step pencil and gel tutorial.
- Eyeliner Tips for Aging Eyes — quick fixes for skipping, smudging, hooding, and harsh lines.
- Best Eyeliners for Aging Eyes — five best products I’ve tested for mature eyes and lids.
- Tiny Eyeliner Flick for Hooded Eyes — a simple outer-corner technique for a little lift.
2. Adjust your eye makeup to your eye shape
Once I understood my own eye shape, it became much easier to see why some eyeliner and eyeshadow techniques worked better than others.
You don’t need to follow a bunch of strict rules. Just notice your crease, lid space, and outer corners so you can place your makeup where it looks best.
A few simple things can help:
Look at your outer corners. Notice whether they sit higher, lower, or about even with the inner corners.
Check how much lid space shows when your eyes are open. If the crease covers most of the movable lid, you may have hooded eyes.
Always check your makeup with your eyes open. Eyeliner or shadow that looks right with your eyes closed may disappear, bend, or point downward once you look straight ahead.
You don’t need to memorize all the eye-shape rules. Just notice what your eyes do when they’re open, then use the guides below for more detailed help with placement.
Need more help figuring out your eye shape and placement?
- How to Find Your Eye Shape — a simple guide to identifying hooded, almond, round, upturned, and downturned eyes.
- Eyeliner Tips by Eye Shape — placement ideas that work with your natural eye shape instead of fighting it.
3. Brighten tired-looking eyes with a few small changes
You don’t need a lot of extra makeup to make your eyes look more awake. I usually get a better result from placing a little light in the right spots and keeping the darker makeup soft and controlled.
Here are the brightening tricks that work best for me:
Use a soft nude liner instead of stark white.
A creamy nude or off-white pencil along the lower waterline can make the eyes look more open. I prefer softer shades because bright white can sometimes look too obvious.
Keep most of the mascara on the upper lashes.
Fuller top lashes help open the eyes and draw attention upward. I usually keep lower-lash mascara light because too much can emphasize shadows or smudging underneath.
Add a little brightness around the inner eye.
A tiny amount of light concealer or soft champagne shadow at the inner corners can make tired eyes look fresher. I sometimes add a very small dot of concealer above the iris too, then blend it well so it gives a little extra brightness without looking obvious. See how I do it here.
Try eyeliner colors that brighten the whites of your eyes.
Deep navy, plum, charcoal, and green can sometimes look fresher than flat black. Hunter green surprised me because it still gives definition but looks a little softer around my eyes.
Create lift with placement, not more product.
Keeping the darker color toward the outer half of the eye and the lighter color toward the inner area can help the eyes look more open and balanced.
Need help with lashes or brightening products?
- My Favorite Lash Serum and Growth Tips — what I use to support sparse-looking lashes.
- Best Mascara for Older Women — mascara picks and tips for mature lashes.
- Hunter Green Eyeliner for Mature Eyes — see how this softer shade looks and how I apply it.
4. Use concealer carefully around mature eyes
Concealer can brighten the eye area, but once puffiness, dryness, or fine lines show up, using more is not always better.
What works best for me is using less and placing it only where I need it.
Hydrate first. A little eye cream helps concealer blend more smoothly instead of catching on dry skin.
Use thin layers. Heavy concealer can settle into lines and make the area look drier.
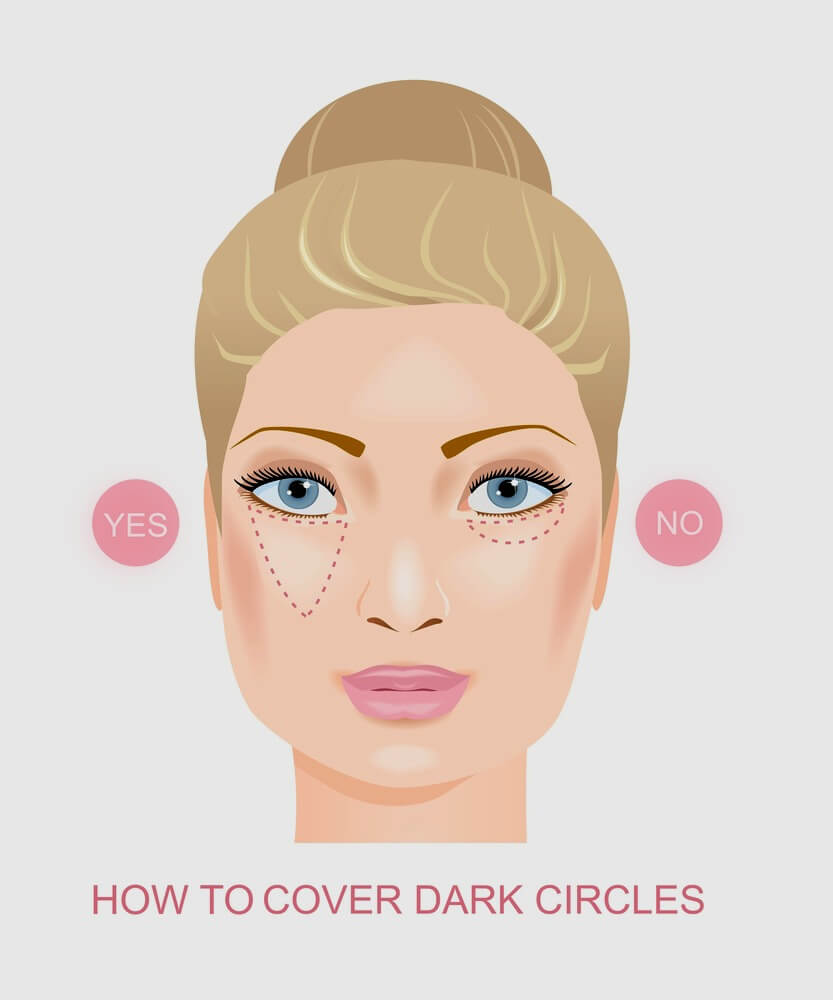
Place it in the darkest areas. I usually start near the inner corner and blend outward instead of covering the whole under-eye area.
Watch where you place it around puffiness. Very light concealer placed directly over the fullest part of an under-eye bag can make it stand out more. I get a better result by brightening the shadow around it instead.
A light hand usually looks smoother and more natural around mature eyes.
Need more help with the under-eye area?
- How to Reduce Puffy Eyes — causes, quick fixes, serums, and longer-term options.
- Under-Eye Wrinkles: Habits That Can Make Them Look Worse — simple ways to avoid emphasizing dry or textured skin.
- Hydrating Eye Cream for Dry Under-Eyes — help choosing moisture that works better under concealer.
5. Make puffy eyes look less noticeable
Makeup can’t remove puffiness, but a few small choices can keep it from standing out as much.
Keep shimmer off the fullest part of the puffiness. Light-reflecting products can draw attention to raised areas, so I keep shimmer on the upper lid or inner corner instead.
Keep lower-eye makeup soft. Heavy liner or thick mascara under the eyes can make the area look darker and heavier.
Place concealer in the shadow, not over the bulge. A little concealer just below the puffiness can help soften the shadow without making the fullest area look brighter.
Reduce the swelling first when you can. A cool compress or chilled eye mask may help before you apply makeup.
If puffy eyes are one of your main concerns, the guides below give you more help with causes, quick fixes, and products.
Need more help with puffy eyes?
- How to Reduce Puffy Eyes — causes, home remedies, serums, and longer-term options.
- What’s Better Than Plexaderm? — the instant eye-tightening products I tested and how they compared.
- Quick Fixes for Puffy Eyes — simple things to try when you need the area to look better fast.
6. Define your eyebrows
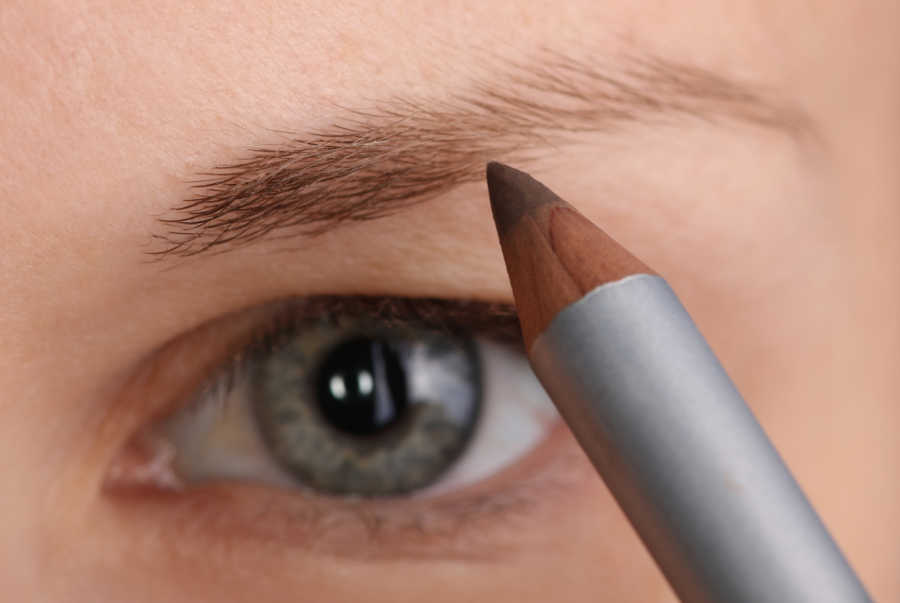
Brows can become lighter, thinner, or less even over time. Adding back a little shape and color can help frame the eyes and make the whole eye area look more defined.
A few simple things help:
Fill only the sparse areas. Use light, hair-like strokes instead of drawing one solid shape.
Keep the inner brow soft. Too much color at the front can make brows look heavy.
Choose a natural-looking shade. A color close to your brow or hair color is usually easier to control than one that is very dark.
Pay attention to the tail. A little definition can help lift the eye area, but extending it too far downward may pull the look down.
You don’t have to use a pencil if it doesn’t work for you. Powder, tinted gel, or another softer method may be easier.
Need more help with your brows?
- My Pencil-Free Brow Method — the method I use, with a demonstration video.
- Why Fuller Brows Matter More as We Age — how brow shape and definition can change the look of the entire eye area.
Try seasonal eye makeup ideas
Sometimes it helps to see the eyeliner, eyeshadow, and color ideas put together in one finished look. These seasonal guides give you simple combinations, placement ideas, and products that work well on mature eyes.
- Summer Eye Makeup for Older Women — smudge-proof eyeliner and simple looks for hot, humid weather.
- Fall Eye Makeup for Mature Eyes — warm colors and ideas for different eye shapes.
Each seasonal guide includes eye shape-friendly tips, color pairings, and product suggestions I’ve tested myself.
Takeaway:
You don’t need a complicated eye makeup routine to make your eyes look brighter and more defined.
For me, the biggest difference comes from keeping eyeliner soft, placing darker color where it helps lift the eye, and using concealer only where I need it.
A little mascara and brow definition can help too.
Start with the one thing that bothers you most. One small change may be all you need.
You might like these
Eyeliner Makeup for Women Over 40: Colors & Tricks to Make Eyes Pop
Eyeliner makeup for older women: learn which colors flatter mature eyes, how to avoid harsh lines, and the best ways to define without aging your look.
How to Get Rid of Crow’s Feet Naturally Without Botox or Fillers
Discover 6 natural ways to reduce crow’s feet without Botox or fillers, including retinol, massage, hydration, and sun protection. Real before-and-after photos.
Eyeliner for Mature Eyes: Choose the Right Formula
How to choose eyeliner for mature eyes: compare pencil, gel, liquid, waterproof, and smudge-proof formulas for less tugging and transfer on mature lids.


Stay Connected with Me
Want to see what I’m up to? I’ll keep you posted on new products I’m trying, little tricks I’ve discovered, new finds, and a few personal updates too.

About the Author:
Linda Robison is a Certified Facial Fitness Specialist and founder of Anti-Aging Beauty Zone, where she shares practical tips, products, techniques, and at-home options for women over 40. She personally tests many of the methods she writes about.
Experience: Linda spent nearly 15 years as an Anti-Aging Health Advisor at the Life Extension Foundation and has over 30 years of experience testing facial anti-aging techniques, including training in Carolyn’s Facial Fitness. Her work has been featured in GB News and Beauty Box Magazine. You can view her background on LinkedIn and follow her on Pinterest.
Found this helpful? Tap the ♡ in the bottom right corner.
FOLLOW OR SAVE

Stay Connected with Me
Want to see what I’m up to? I’ll keep you posted on new products I’m trying, little tricks I’ve discovered, new finds, and a few personal updates too.
Affiliate disclosure: As an Amazon Associate and affiliate for other brands, I may earn a commission from qualifying purchases, at no extra cost to you. [Read Disclosure.] A quick note: I create the content on this site and sometimes use AI tools for writing and images. I review everything for accuracy, and my before-and-after photos are my own.
Anti-Aging Beauty Zone (ABZ): Small Changes, Big Results!
ALL CONTENT COPYRIGHT© 2013-
ALL RIGHTS RESERVED REGARDLESS OF LINKS OR ATTRIBUTIONS
ALL CONTENT COPYRIGHT© 2013-
ALL RIGHTS RESERVED
REGARDLESS OF LINKS OR ATTRIBUTIONS